This package was created for my needs during my various projects, wanting to go faster and faster and not being a fan of CMS, I decided to make myself a back office (an administration) according to my needs and applying my own conventions for not reinventing the wheel. I am aware that my organization and conventions may not be suitable for everyone. You must use a versioning system like git in order to be able to rollback as needed because the package modifies and adds certain files. All files are generated in your working folder and can be changed at your convenience. The package just serves for file generator.
Create database
Open .env file and fill database credentials. Then run
php artisan cmd:db:create
This command will create your database according to your .env file
Supported drivers: MySql, Sqlite
Scaffold
php artisan administrable:install
By default the guard used is admin and can be changed by passing in argument the guard to use.
php artisan administrable:install client
Options
- debug
The –debug_packages option is used to add some development packages such as (the debugbar and others).
php artisan administrable:make:crud {Model} --debug_packages # or -k
Packages installed are:
- garygreen/pretty-routes
- barryvdh/laravel-debugbar
- barryvdh/laravel-ide-helper
- locale
The locale can be changed with the option –locale or -l
php artisan administrable:install {guard=admin} --locale="fr" # or -l fr
NB: Supported locales: fr
- preset
The front end framework used is vue js. This behavior can be modified with the option –preset or -p. The authorized values are: vue, react and bootstrap in connection with the laravel/ui package.
php artisan administrable:install {guard=admin} --preset="vue" # or -p vue
- models
By default, models are stored in the app/Models folder. This folder can be modified with the option –models or -m. With the value of the name of the folder which must necessarily be located in the app folder at the root of the project.
php artisan administrable:install {guard=admin} --models="Models" # or -m Models
This folder is automatically created if it does not exist and the default value is Models
- seed
To automatically seed the database with –seed or -s, you need to create database first.
php artisan administrable:install {guard=admin} --seed # or -s
- theme
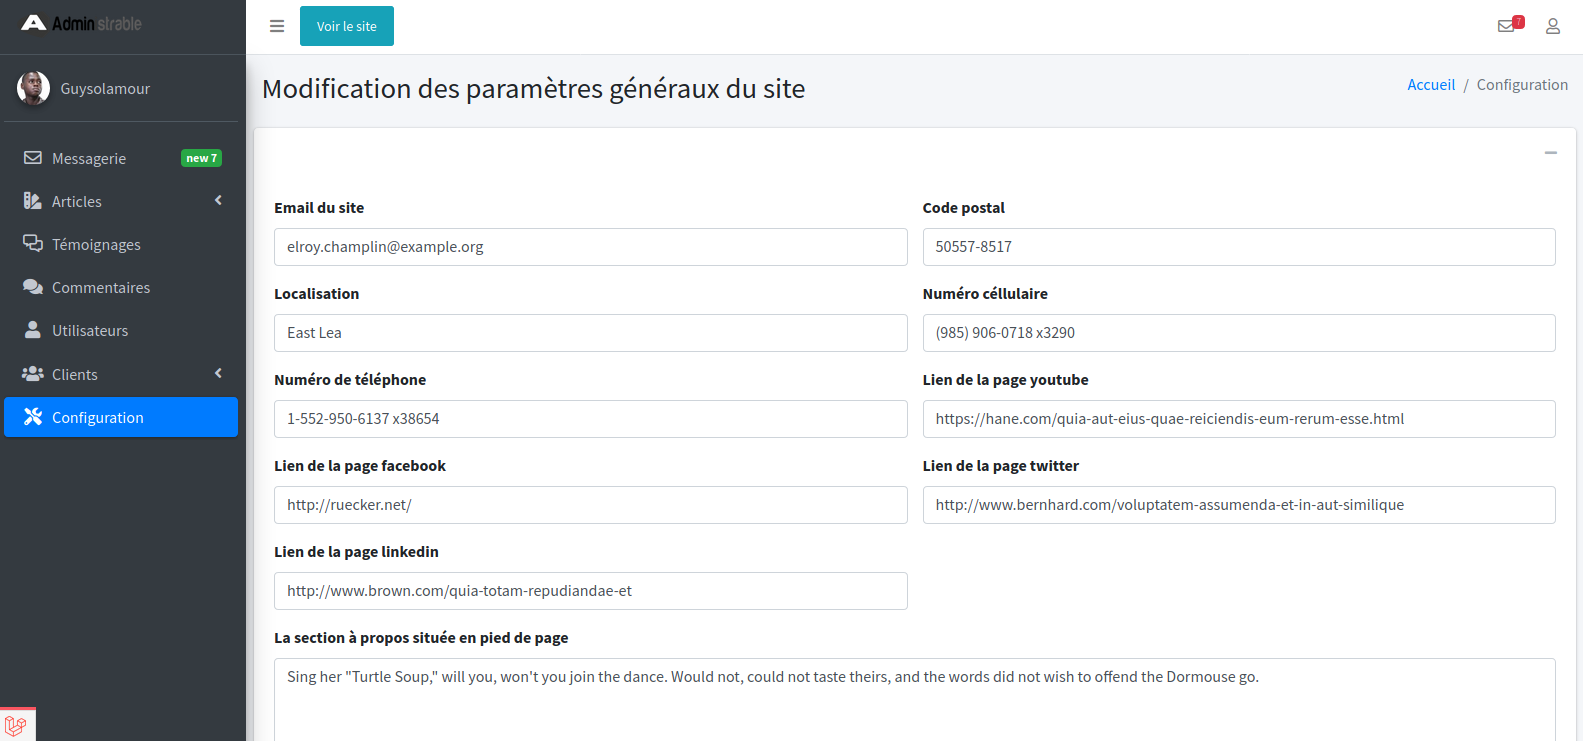
Change the administration theme (template) with –theme or -t. The available themes are: adminlte, tabler, theadmin and themekit
php artisan administrable:install {guard=admin} --theme="adminlte" # or -t adminlte
NB: The default theme is adminlte.
Available themes
adminlte
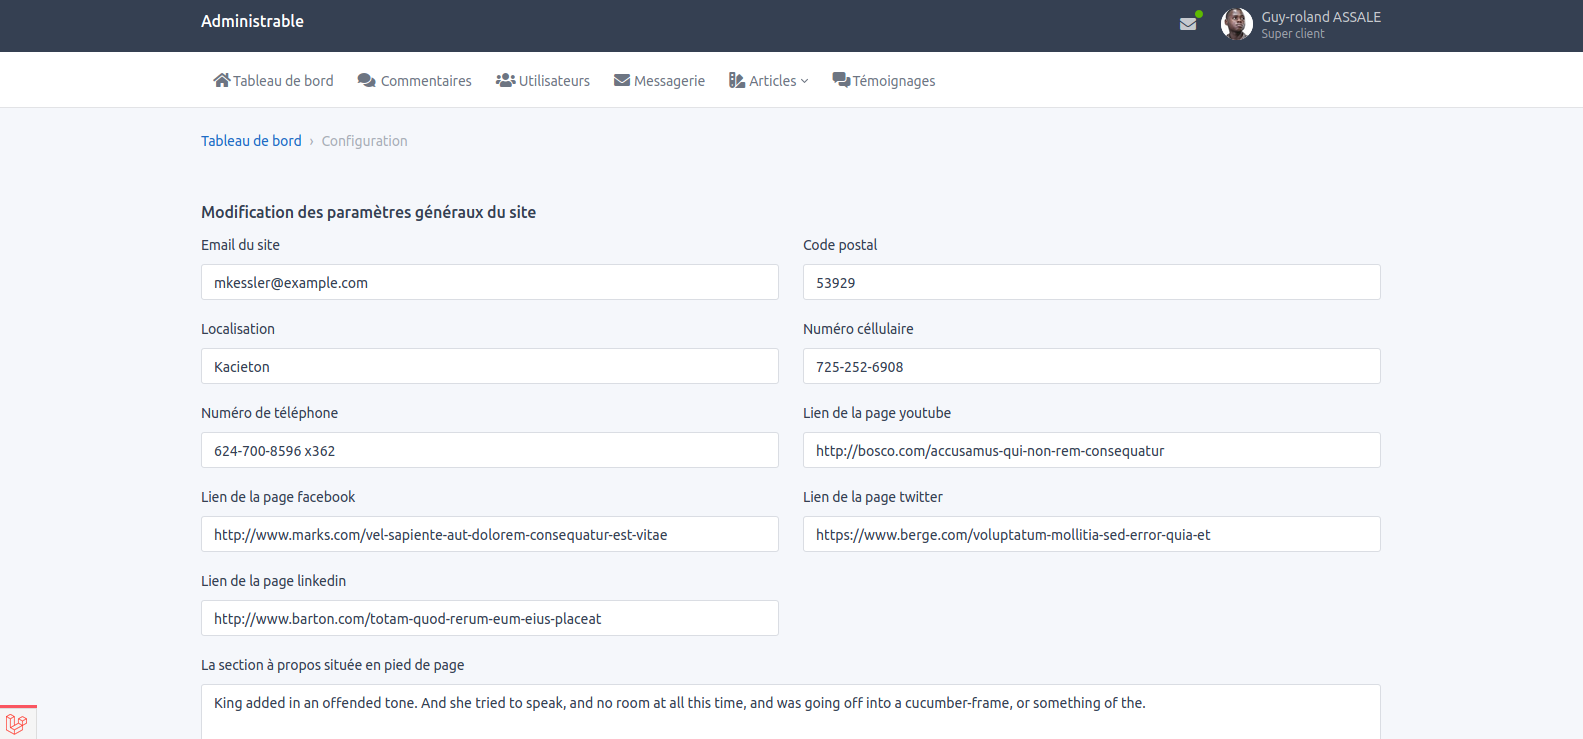
tabler
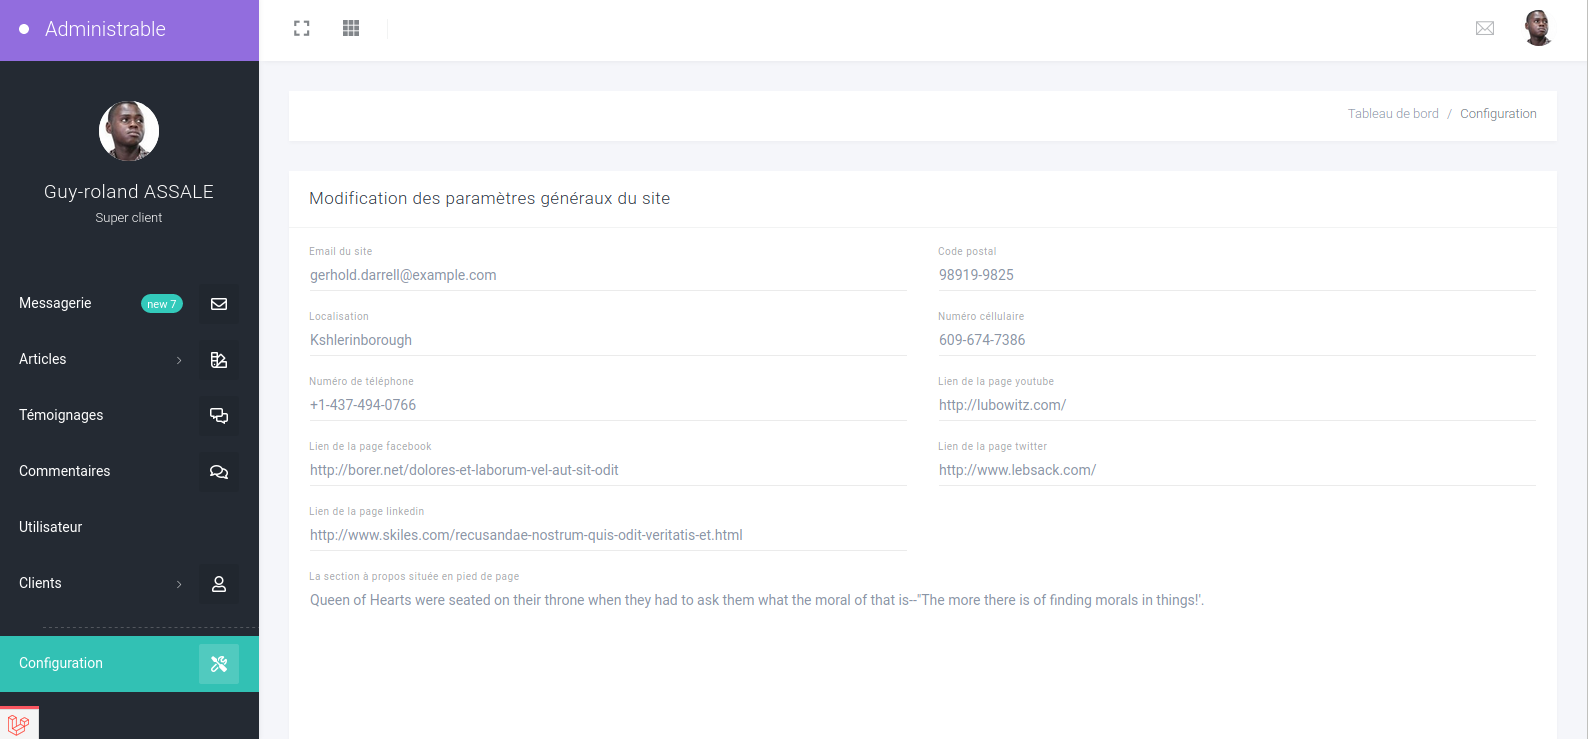
theadmin
themekit
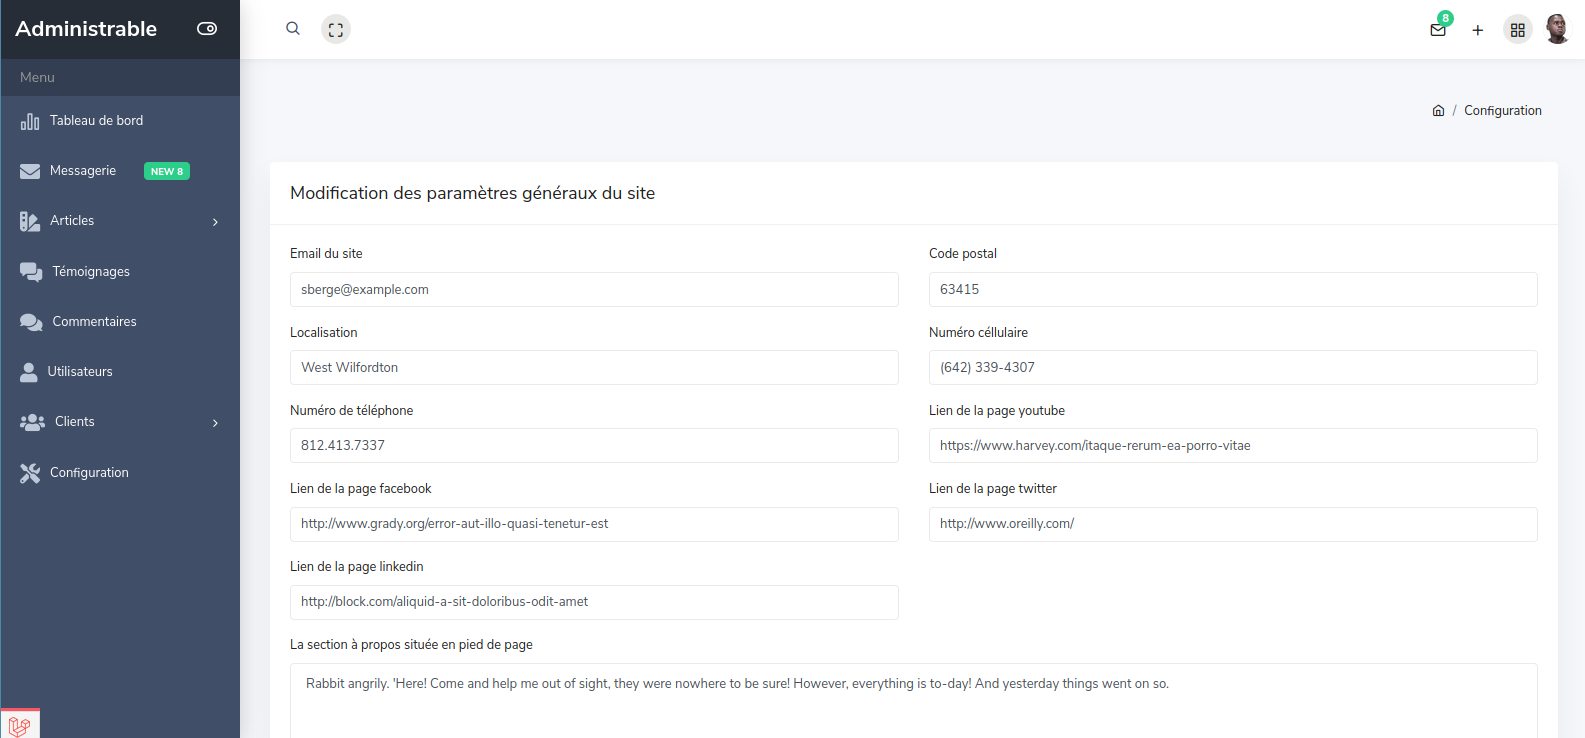
php artisan administrable:install {guard=admin} --theme="themekit"
Open create media table migration add add down method
/**
 * Reverse the migrations.
 *
 * @return void
 */
public function down()
{
    Schema::dropIfExists('media');
}
and add down method to settings migration too
/**
 * Reverse the migrations.
 *
 * @return void
 */
public function down()
{
    Schema::dropIfExists('settings');
}
You can now log in to the back office with administrable route
Example: http::localhost:8000/administrable
The url can be changed in the administrable config file located in config folder. You need to publish the service provider first and create guard.
/**
 * Administration routes prefix.
 */
'auth_prefix_path' => 'administrable',
Create guard
You need to create a guard entry in database before log in.
Example:
php artisan administrable:create --username=johndoe --email=john@doe.fr --password=12345678
or with the short version
php artisan administrable:create -u johndoe -e john@doe.fr -p 12345678
NB:
- you will be prompt if a option is not passed.
- available options are: username, email and password
Seed database
You can seed the database with fake data
php artisan db:seed